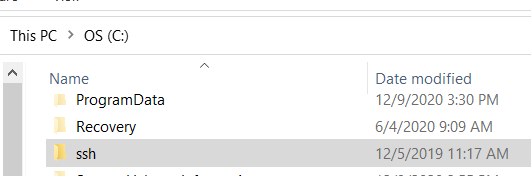
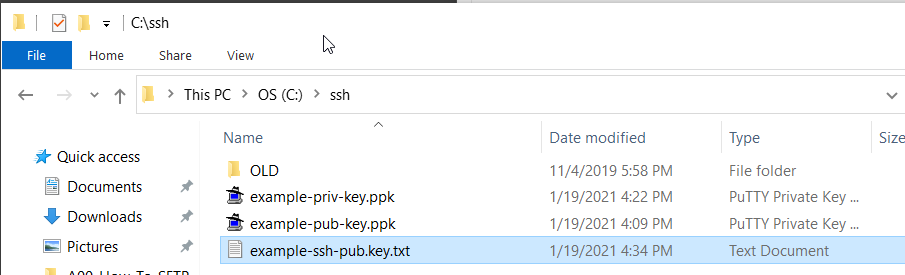
 First, create a directory folder on your hard drive. Name this folder 'SSH'. This folder is where you will save your public/private key pair for SFTP. You can create it anywhere on your hard drive you want. For ease of use, you can create it at the root of the 'C' drive ( 'C:\ssh' ).
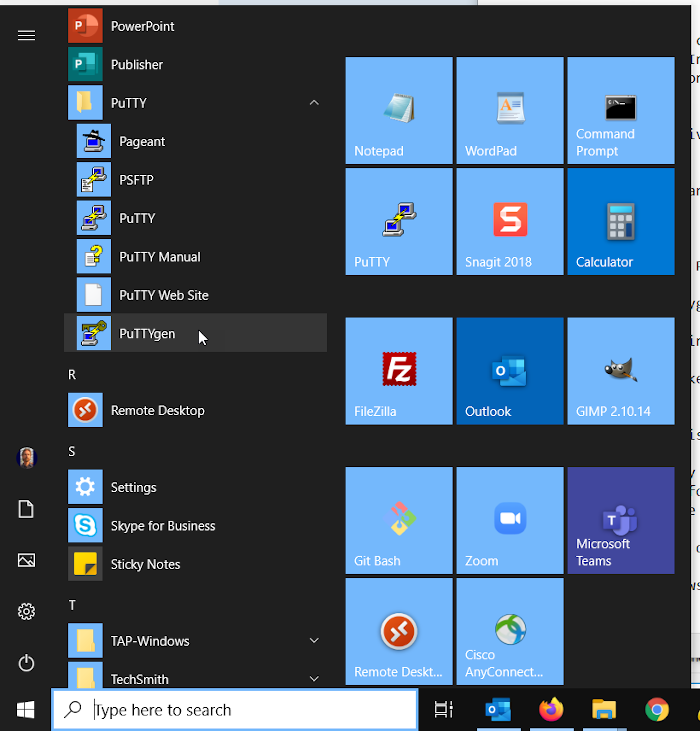 Next, click on the Windows 'Start' button. Then scroll down to the PuTTY folder and click on the dropdown arrow. Usually at the bottom of the list, you will find PuTTYgen. Click on it.
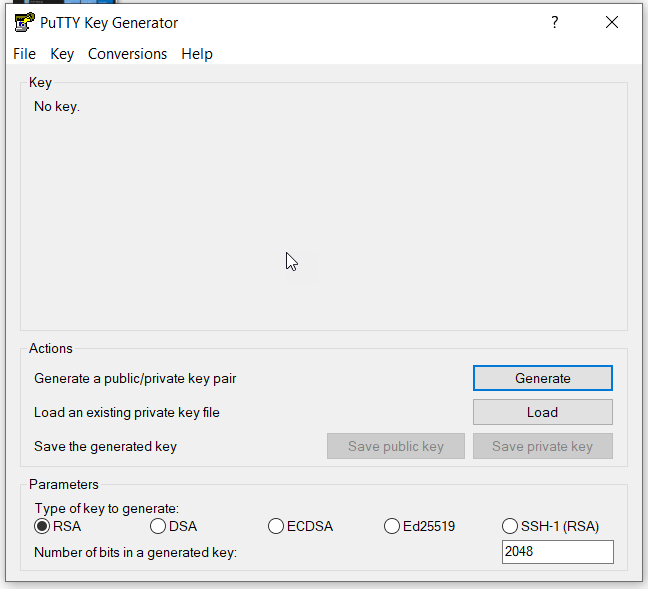 In the PuTTYgen window that opens, look toward the bottom. The default settings under 'Parameters' will have the "Type of key to generate" marked as "RSA". Underneath that, the "Number of bits in generated key" text box will say "2048". These default settings are what you need.
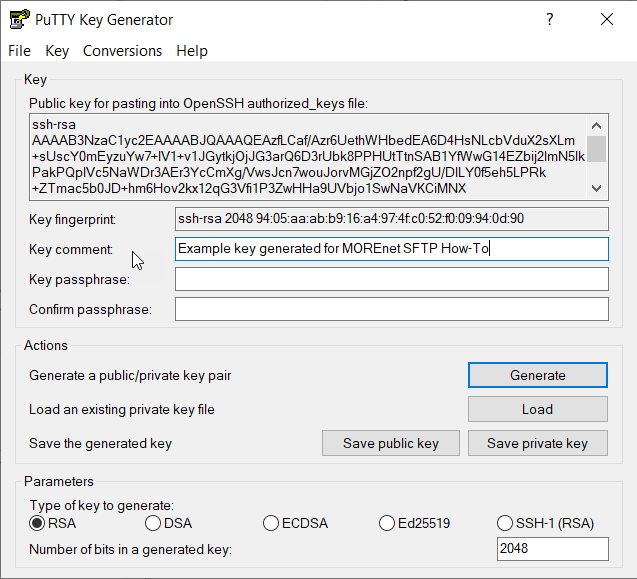 PuTTYgen will then display several bits of information. Note the "Key Comment" text field. You can replace this value with something useful, such as "Key for MOREnet hosted web site", or your name, or any information you might find useful in reminding yourself what you use this key pair for.
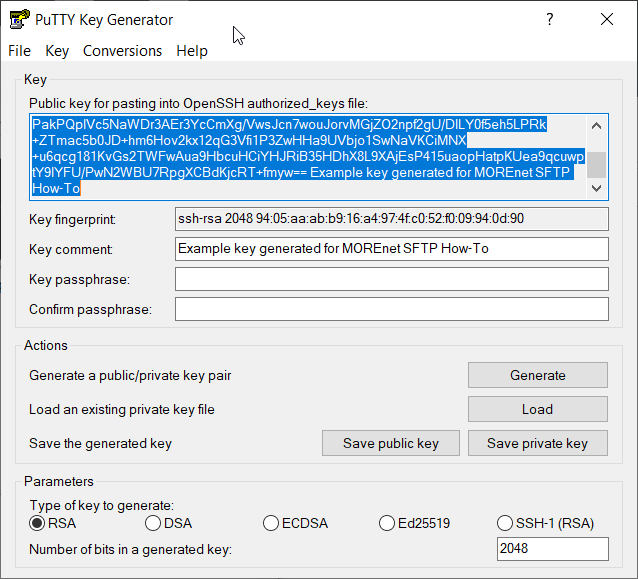 To connect to the web server, you will need your public key in a slightly different format. Back in the PuTTYgen window, you will see the text box for "Public key for pasting into OpenSSH authorized_keys file". Beneath this is a box of text that starts with "ssh-rsa" and has a lot of random letters and numbers.
 Attach the SSH public key file (name-you-created-ssh-pub-key.txt) for the SFTP server to an email. In the email, include your name and contact information, and the domain name of the web site to which you need SFTP access. Send the email to the MOREnet email address you were provided. DO NOT include your private key file.
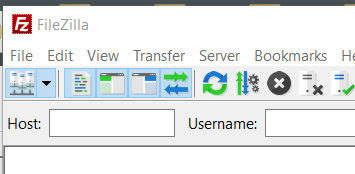 Start FileZilla.
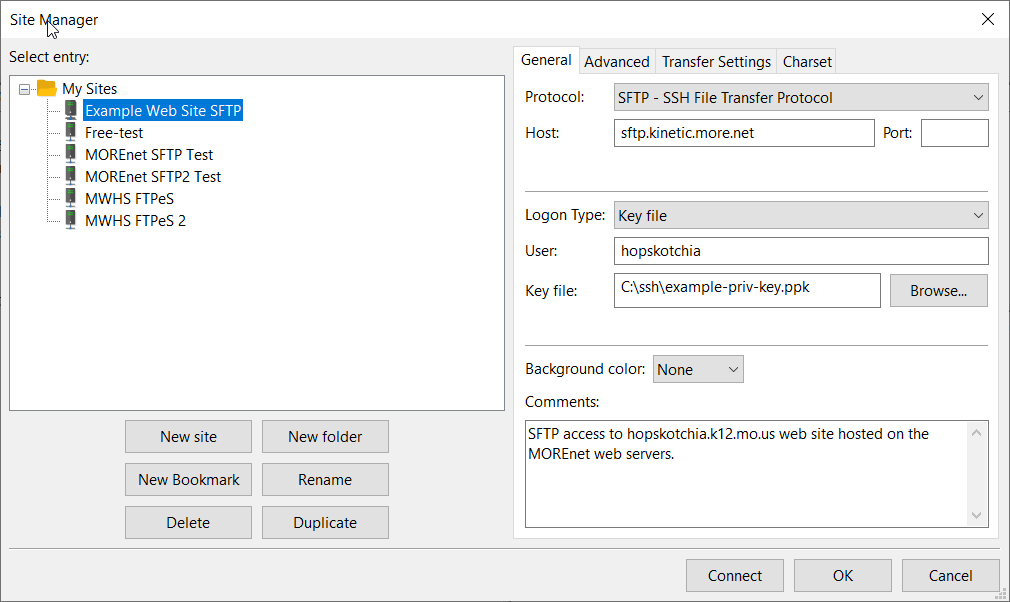
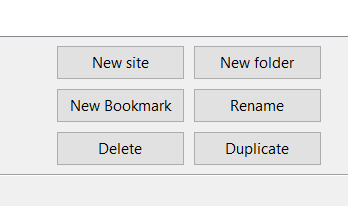 In the Site Manager sub-window, click on the New button. A new, blank profile will open for you to fill in.
To connect to your web site to transfer files, in FileZilla click on the drop-down arrow for the Site Manager. You will see the profile you created listed. Click on the name of the profile.
In the Site Manager sub-window, click on the New button. A new, blank profile will open for you to fill in.
To connect to your web site to transfer files, in FileZilla click on the drop-down arrow for the Site Manager. You will see the profile you created listed. Click on the name of the profile.
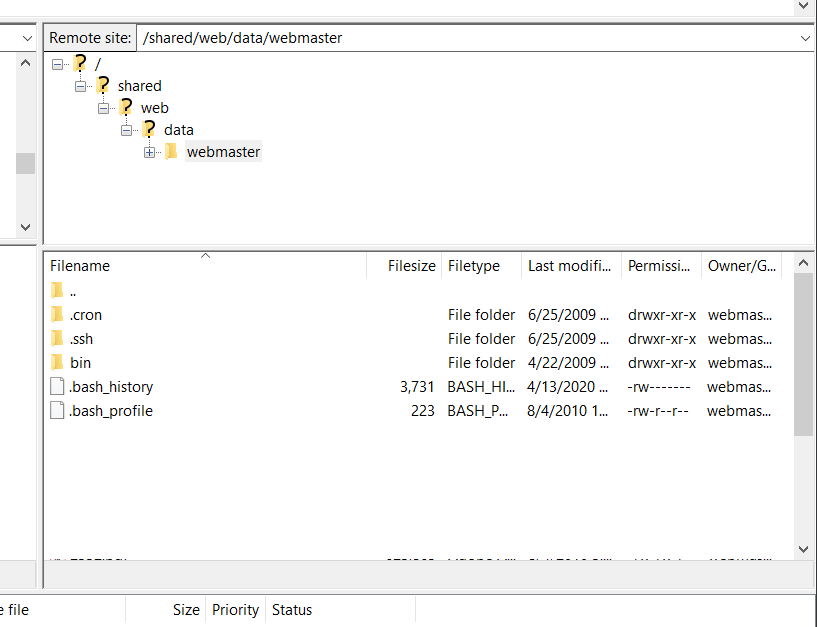 You'll notice you are in a directory called "webmaster". The full path on the web server is "/shared/web/data/webmaster". This is your SFTP account's home directory. You will always start here when you first connect.
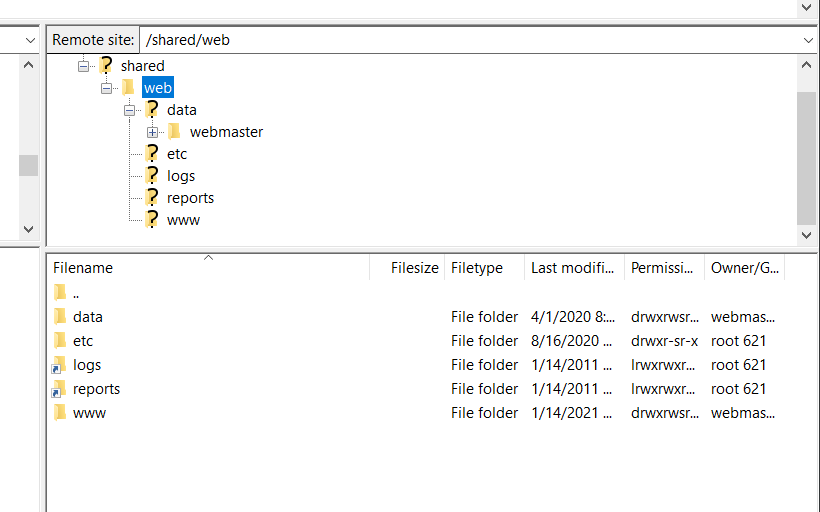 When the pane updates, you'll see several directory folders listed.
The "etc" directory contains the configuration files for the web server. You will not be able to edit these files.
The "www" directory is the one that contains all the files that make up your web site.
When the pane updates, you'll see several directory folders listed.
The "etc" directory contains the configuration files for the web server. You will not be able to edit these files.
The "www" directory is the one that contains all the files that make up your web site.
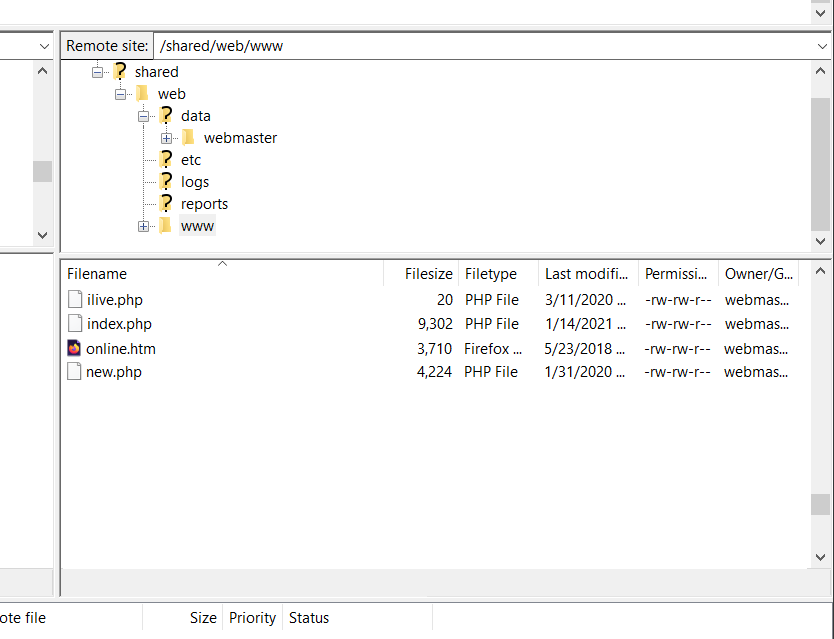 When the pane updates, you will see all the files for your web site. These are the actual content files. The full path on the web server is "/shared/web/www". These are the only files and directories which the web server can actually "see" and use.
|
Copyright © 2002-2026 MOREnet and the Curators of the University of Missouri. All rights reserved.
Copyright, accessibility, privacy and other information about this site. Acceptable Use Policy |
|