Missouri Research and Education Network

How To Set Up SSH for Command Line Access to Your Web Site


Members with a web site hosted by MOREnet can optionally access their web site using a secure shell SSH client. This allows members to do more involved editing work, directly manipulate files, set up crontabs or custom scripts, or even update their web site software (WordPress, Drupal, MyBB, etc.) directly on the command line of their web server. To do this, members with web sites will need to generate an SSH public/private key pair and then configure an SSH client to connect to their web server.

If you have not already done so, follow the instructions here for creating an SSH/SFTP key pair and providing your public key to MOREnet.

Configure PuTTY for SSH

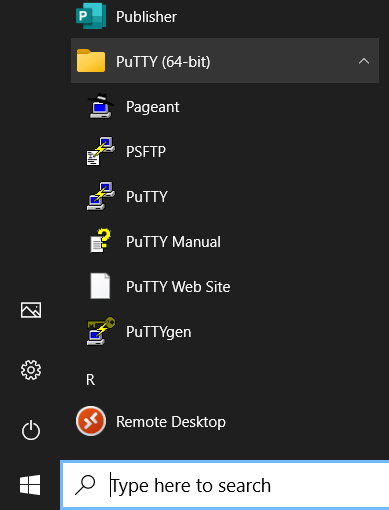
This example will use PuTTY for Windows™. There are other SSH clients you can use for Windows and configuration will be similar. You can use the SFTP/SSH public/private key pair you created for your SFTP client.

Click on the Windows 'Start' button. Then scroll down to the PuTTY folder and click on the dropdown arrow. Usually toward the middle of the list you will find PuTTY listed. Click on it.

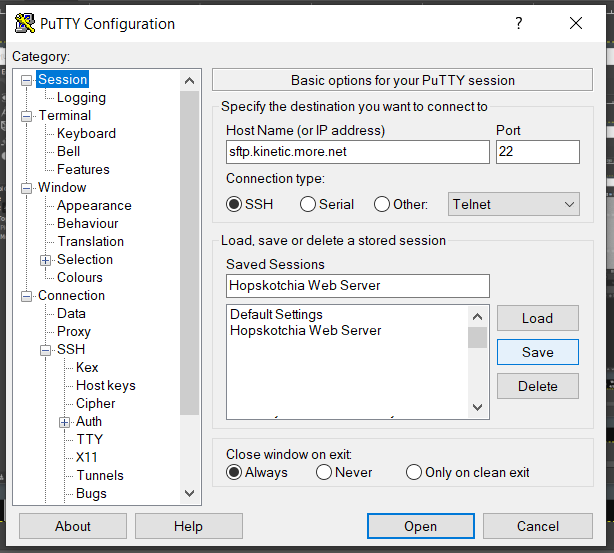
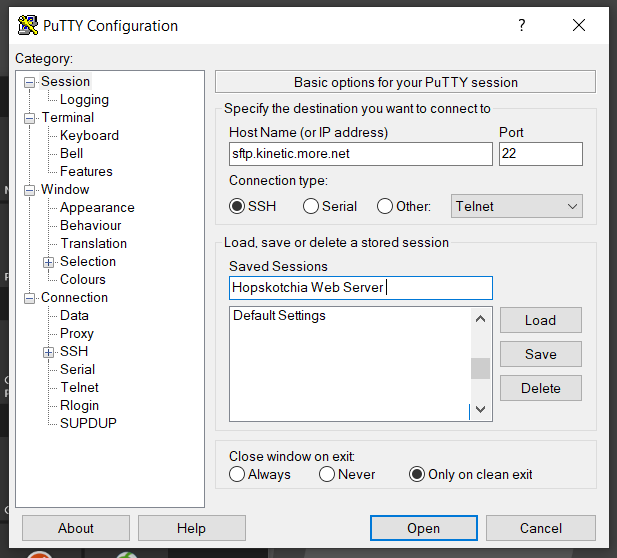
When PuTTY opens, you will see the default blank settings displayed. There are a lot settings and you can use these to start with. To create and save a session profile for accessing your web site, begin by entering the 'Host Name (or IP address)' of MOREnet's SFTP server. Either one listed below will work, but use of the first one is preferred. Next, click in the text box underneath 'Saved Sessions'. Here you can give this saved session profile a name of your choosing. For example, if you were setting up a profile for the fictitious Hopskotchia K12 school web site, you could name it "Hopskotchia Web Server"

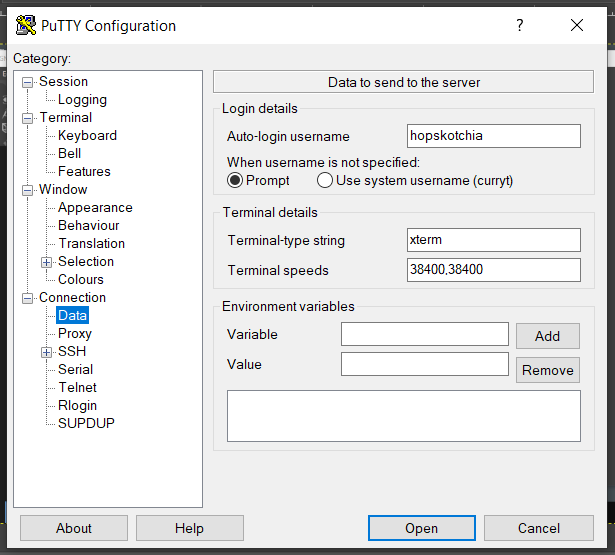
Next, on the left, click on the 'Data' options just underneath the 'Connection' options.

In the text box for the 'Auto-login username', enter the accessname you were given previously. This will be the same accessname you use for your SFTP client.

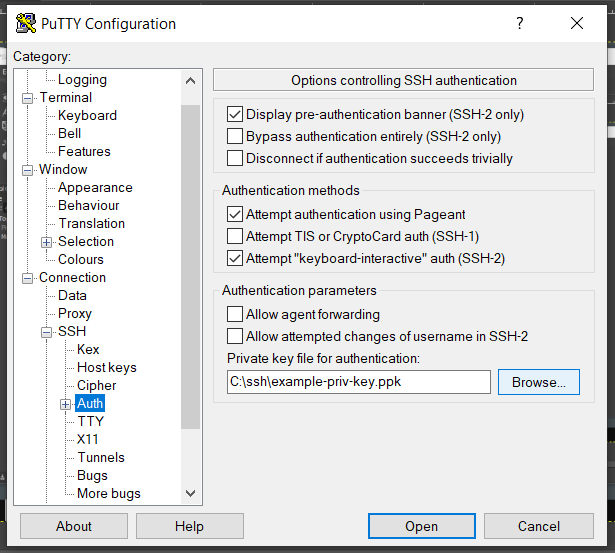
Again on the left, scroll down and click on the 'Auth' options.

Look for the 'Private key file for authentication' text field. Next to this is a 'Browse' button. Click this button to open a navigation window.

Navigate to the c:\ssh\ directory folder you created previously. Select the private key you created for SFTP (the one with "some-name-private.ppk" or "-priv.ppk" at the end of the filename).

At this point, scroll back to the top on the left and select 'Session'. This will return you to the original small screen for the session profile.

Locate the 'Save' button toward the right and click on it. You will see the name of the Saved Session profile appear in the text box of saved sessions.

Since the session profile is already displayed, you can click on the 'Open' button to connect to your web site via SSH. The window will change to the command line window once you have connected to the web server.

To exit the SSH session in PuTTY, type 'exit' and press [Enter] on the command line. Unless you changed the default settings in PuTTY, you will disconnect from the web server and the PuTTY client will close.

The next time you open PuTTY to connect to your web server, you will need to click on the session profile name to select it, and then click on the 'Load' button. You can then click the 'Connect' button to connect to the web server again.
Note that all the considerations for file naming conventions, spaces in file names, and directory separators apply in SSH as they do for SFTP.


Copyright © 2002-2026 MOREnet and the Curators of the University of Missouri. All rights reserved.
Copyright, accessibility, privacy and other information about this site.
Acceptable Use Policy
Missouri Research and Education Network